
The Crowny guide
From checkout to your notch.
Every step, with pictures: buying, installing, the one warning macOS shows the first time, what each permission is for, and how to set Crowny up your way. About five minutes, start to finish.
Step 1
Buying
Crowny is a one-time purchase. No account to make, no subscription to cancel.
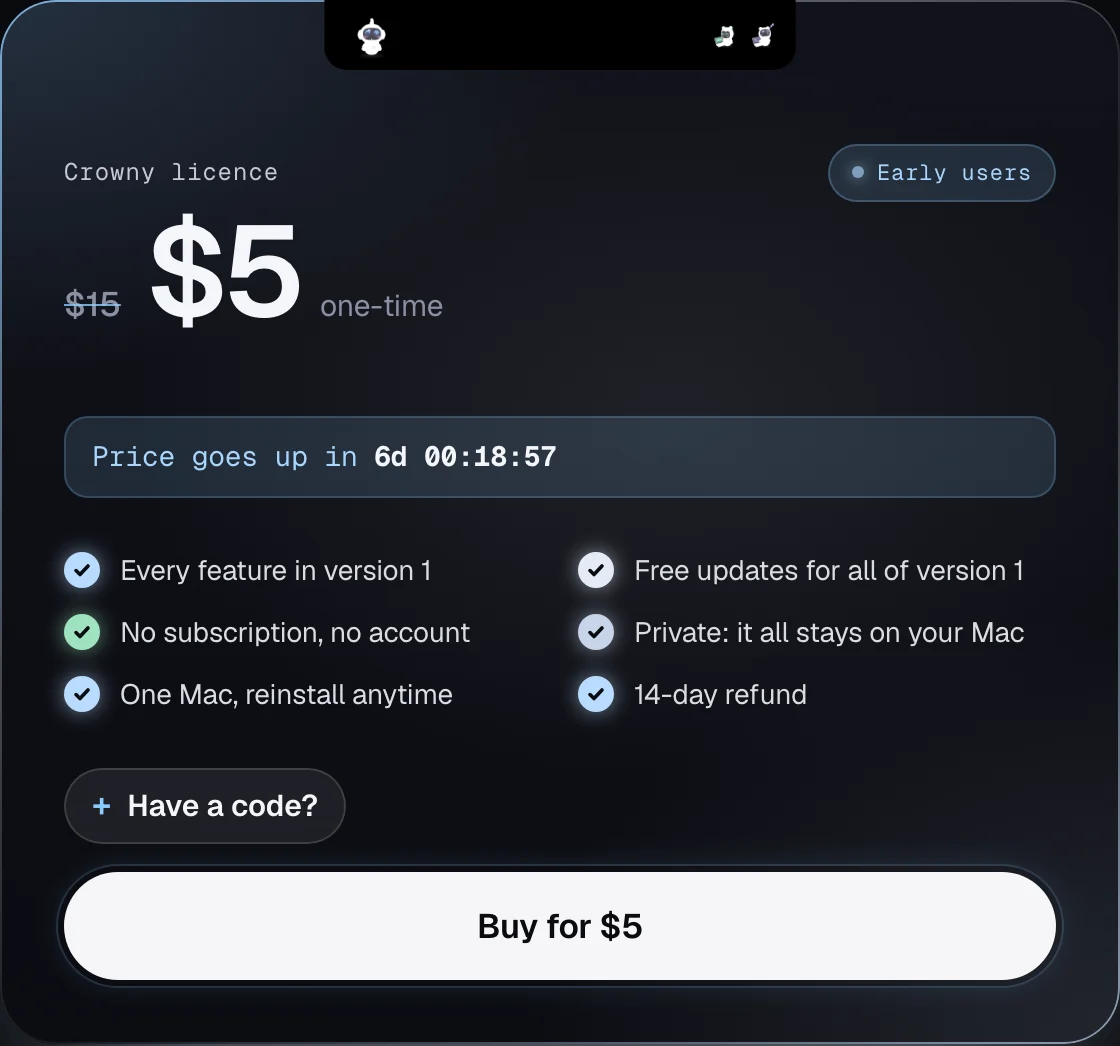
- Press Buy on the pricing card at crowny.lol. If you have a discount code, open Have a code? first and type it in.
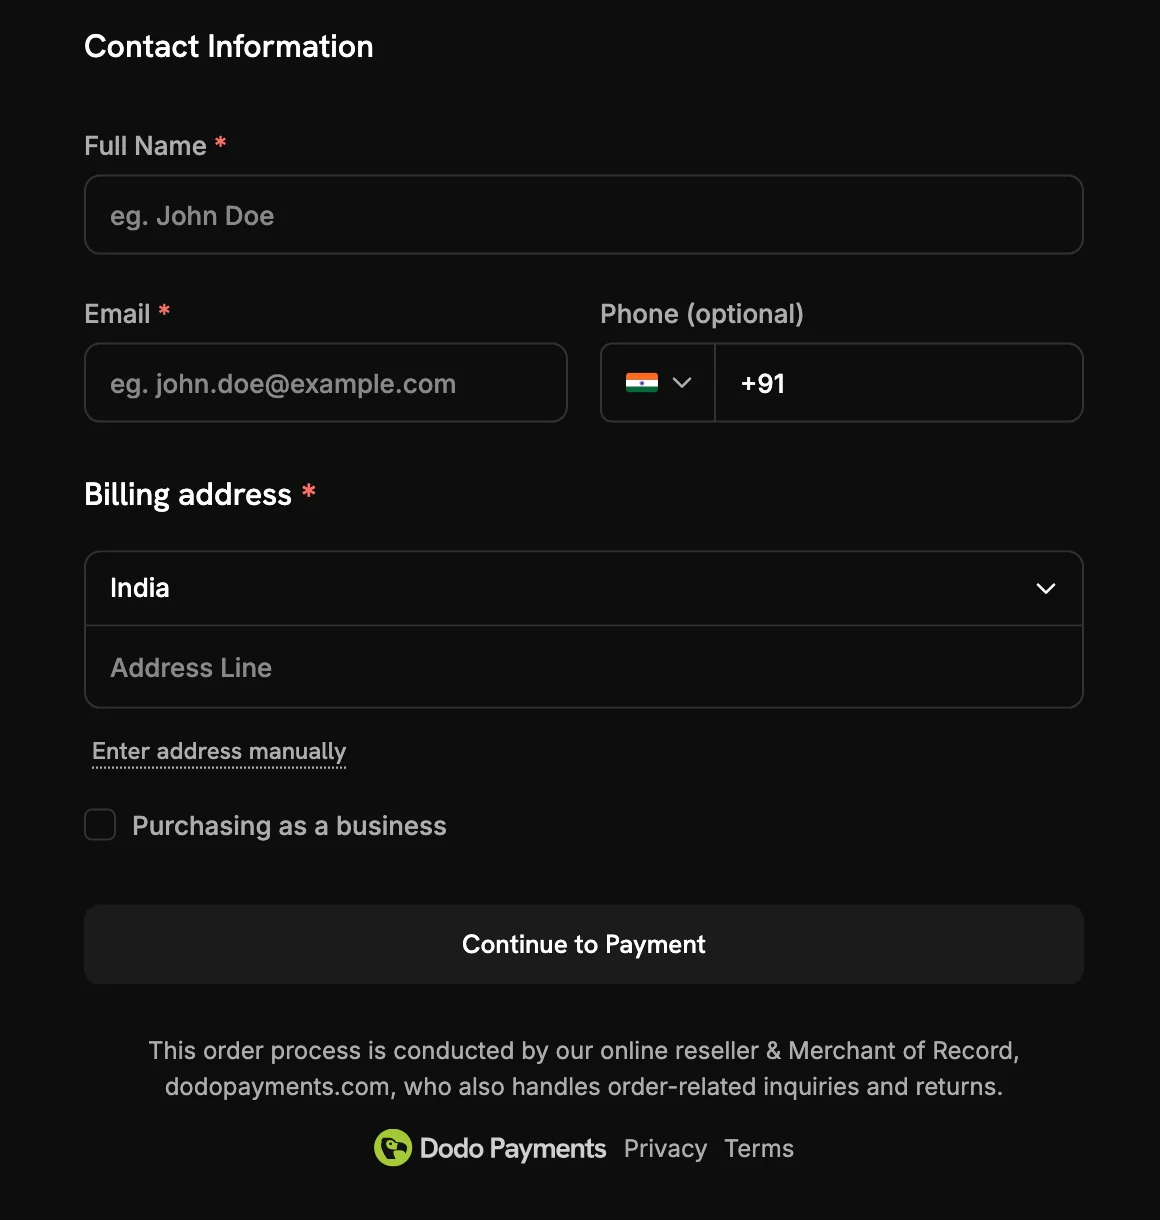
- You go to the checkout run by Dodo Payments, our merchant of record. Enter your name, your email and your billing address, then Continue to Payment. We never see your card.
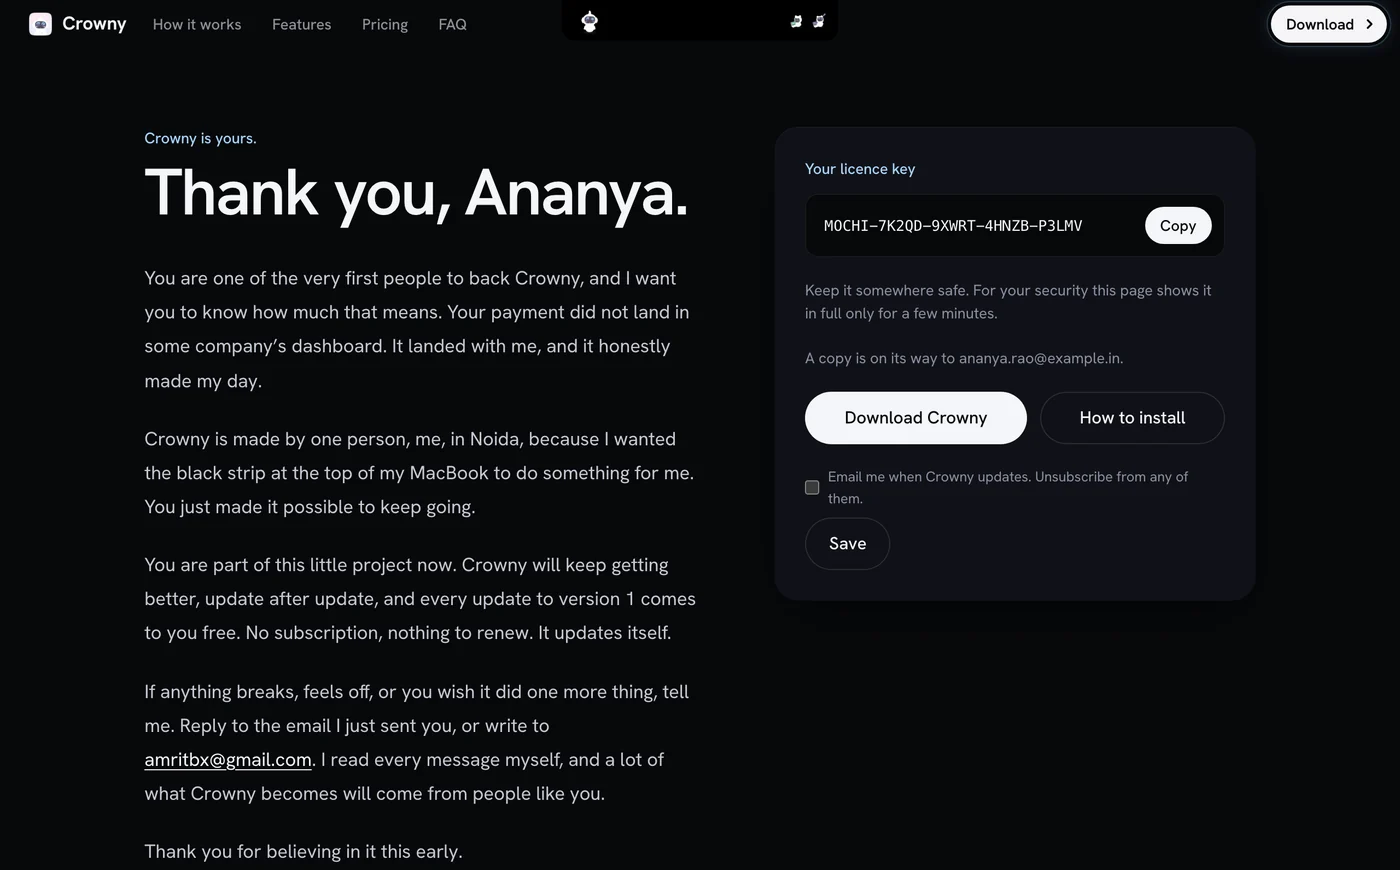
- Once it goes through you come straight back to a thank-you page with your licence key. The same key is emailed to you, so it is never lost.
Step 2
Installing
Two ways in, both about a minute. Terminal is the quickest and skips the macOS warning. The download is the classic drag-to-Applications. Pick one.
Recommended
In Terminal
One line. No warning to click through.
- Open Terminal: press ⌘ Space, type Terminal, press Return.
- Paste this line and press Return:
curl -fsSL https://crowny.lol/install | sh - Crowny downloads, lands in Applications and opens by itself. No macOS warning: macOS only stops apps a browser downloaded.
- Paste your licence key when Crowny asks for it.
- Setup starts: permissions, your agents, your keys.
Terminal asks for your Mac’s password only if your Applications folder needs it to write there. The script copies Crowny and opens it; nothing else.
The download
By hand
Drag to Applications, then allow it once.
- Press Download Crowny.
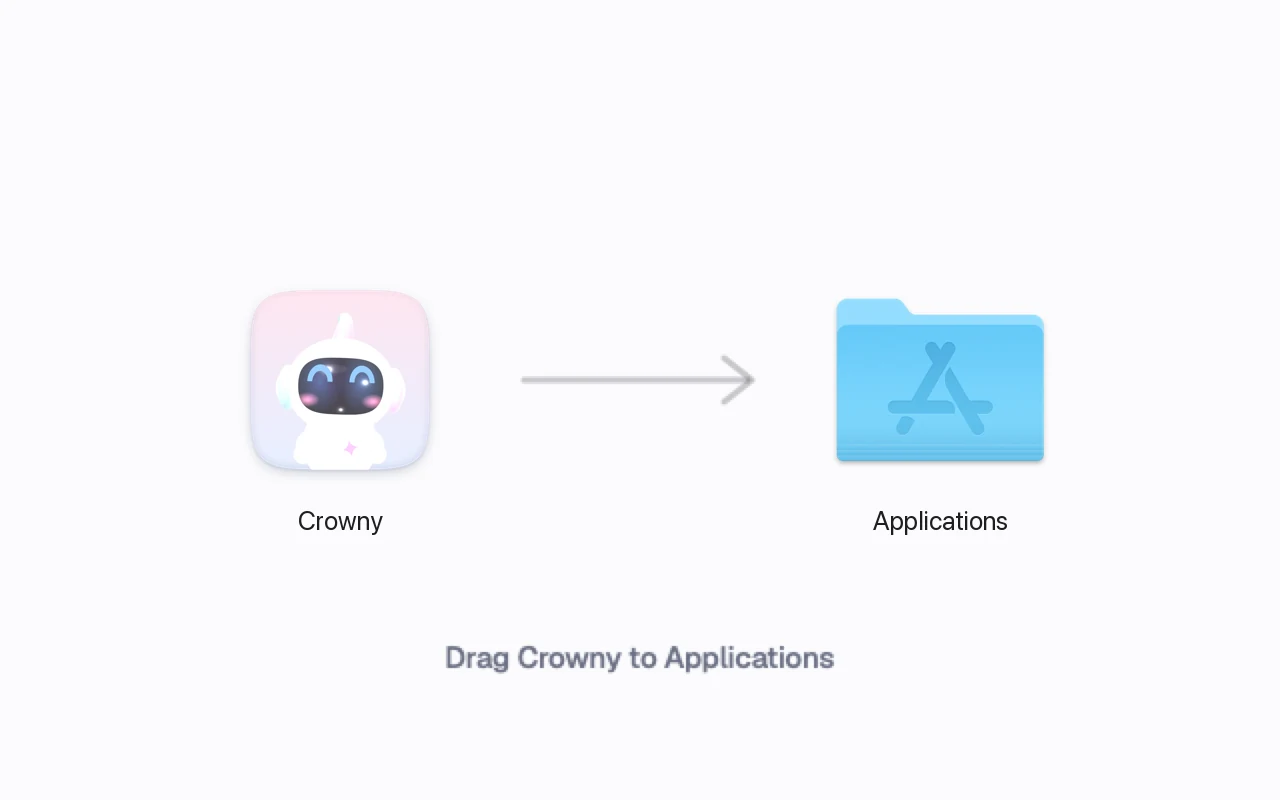
Crowny-0.2.6.dmglands in your Downloads. - Open it, and drag Crowny onto the Applications folder beside it.
- Open Applications (in Finder, ⌘ ⇧ A) and double-click Crowny.
- macOS says “Crowny” Not Opened. Choose Done, not Move to Trash.
- Open System Settings, then Privacy & Security, scroll to Security and choose Open Anyway next to Crowny. Confirm with your password or Touch ID.
- Paste your licence key when Crowny asks. Setup starts.
Double-clicked Crowny inside the disk image instead of dragging it? It offers to move itself to Applications, and opens again from there.
The download, in pictures

No Open Anyway button? It shows for about an hour after you tried to open Crowny: open it once more and come back. The old Control-click, Open trick stopped working in macOS 15 Sequoia; the Settings route is the way now.
Step 3
Your key
On its first launch Crowny asks for your licence key.
- Paste the key from the thank-you page or from your email.
- Crowny checks it with crowny.lol once and ties it to this Mac. The server gets your key and a one-way hash of your Mac’s hardware ID, never the ID itself.
- The key works on one Mac, and reinstalling on that Mac is fine. Moving to a new Mac? Write to me.
Step 4
It stays on your Mac
Crowny runs on your Mac, and what it sees stays on your Mac. No account, no analytics, no crash reports.
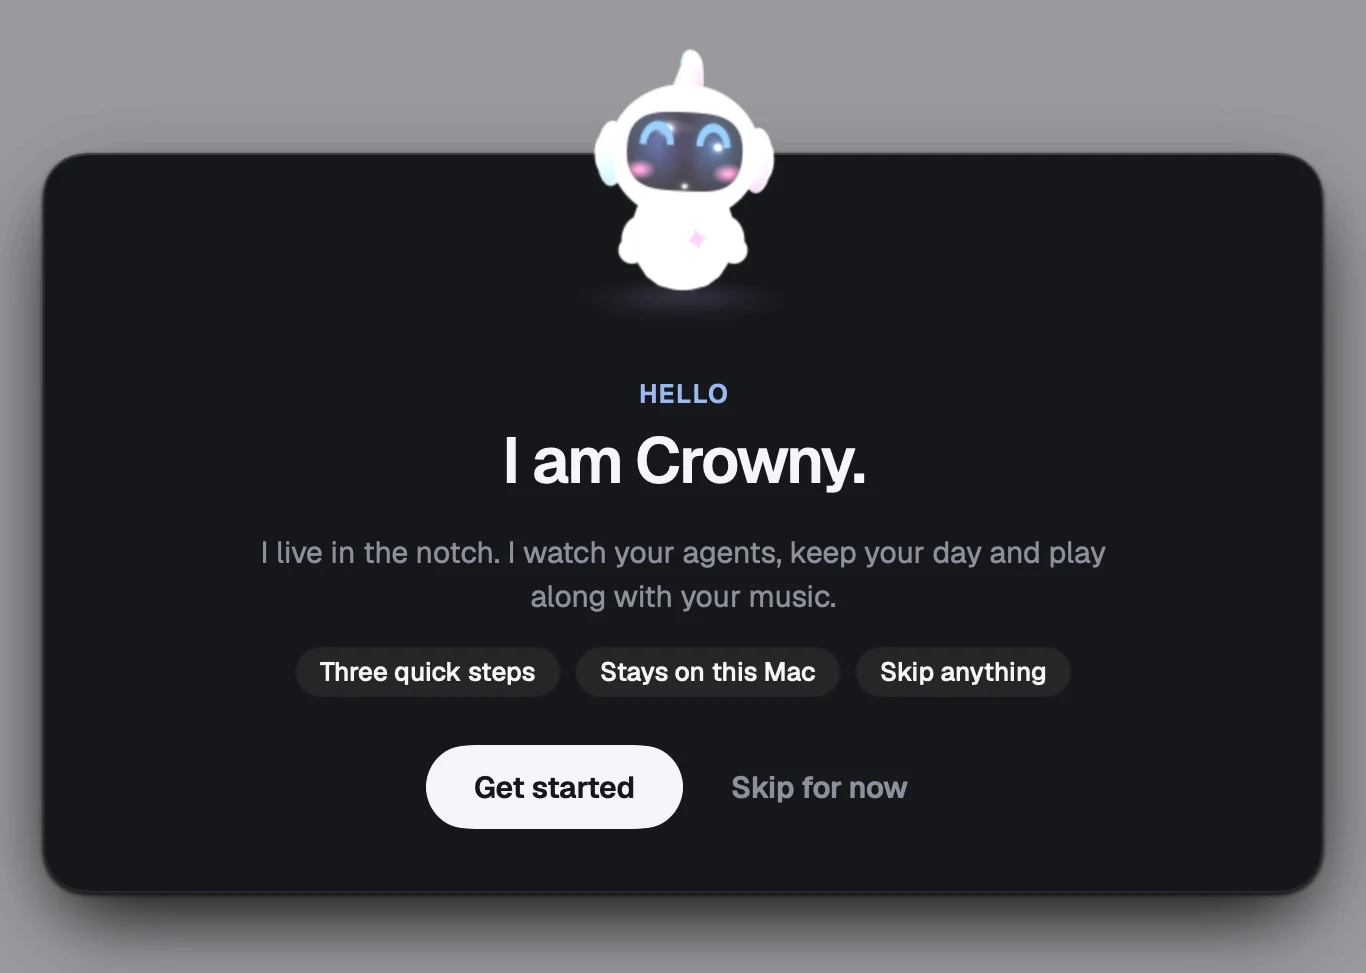
Stays on your Mac
- Your calendar, reminders, notes, clipboard and tasks
- Your voice, turned into text on the Mac
- The sound it uses to move the music bars, never recorded
- Your coding agents’ sessions, read from this Mac
- Any keys and tokens you add, in an encrypted vault locked by your macOS Keychain
What does go online, and why
- crowny.lol, to activate your key once, and to check once a day for a free update
- Open-Meteo, for the weather: a city name, or your rough location if you pick it in the weather tile. No account, no key
- Services you connect yourself, like Anthropic, Google, GitHub or Home Assistant. Crowny talks to them directly from your Mac with your own account. None of it passes through me
The details, in plain words, are in the privacy policy.
Step 5
Permissions
After the key, Crowny asks for everything it needs on one screen, so nothing pops up later in your day. Every one is optional.
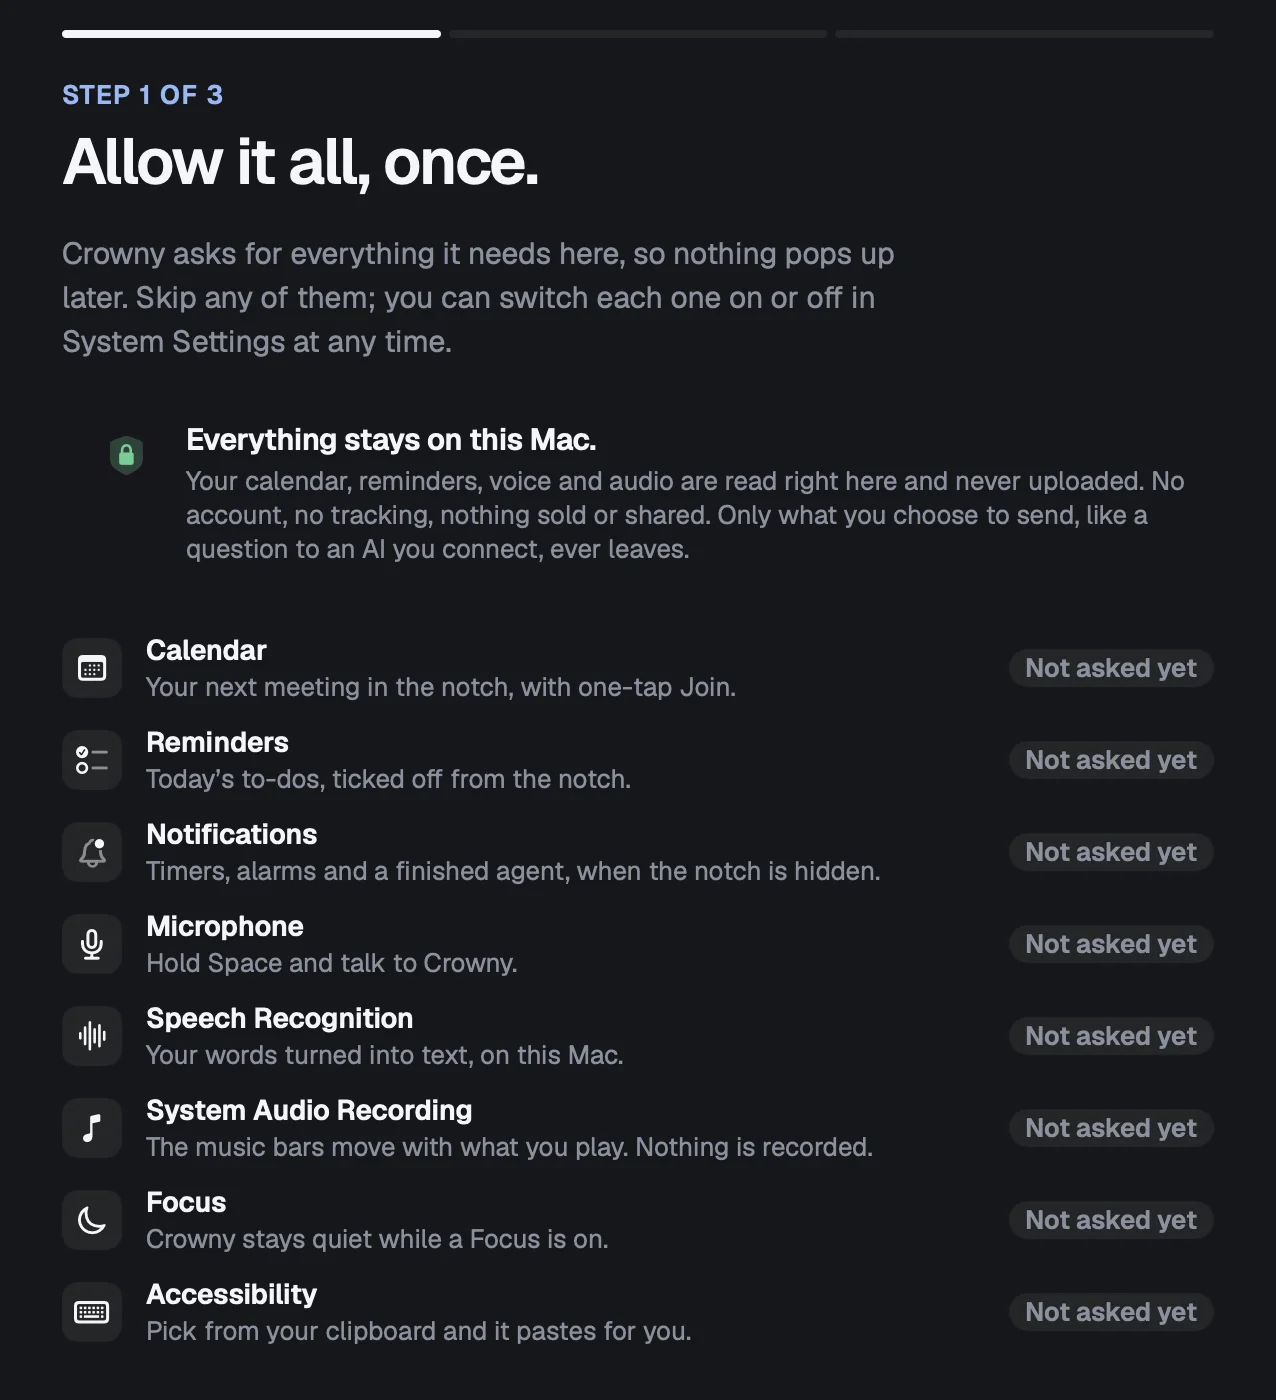
When you choose Allow, macOS asks for each one in its own window. Here is what each is for, and what happens if you say no.
- Calendar
- Your next meeting in the notch, with one-tap Join.If you say no: Today shows no meetings from your Mac’s Calendar. A Google Calendar you sign in to in Setup still works.
- Reminders
- Today’s to-dos, ticked off from the notch.If you say no: Your reminders stay out of Today. Nothing else changes.
- Notifications
- Timers, alarms and a finished agent, when the notch is hidden.If you say no: They still show on the notch, just not as a macOS banner when the notch is out of view.
- Microphone
- Hold Space and talk to Crowny.If you say no: No talking to Crowny. Everything else works as before.
- Speech Recognition
- Your words turned into text, on this Mac.If you say no: No voice either. Crowny asks macOS for on-device recognition, so what you say is turned into text right on your Mac.
- System Audio Recording
- The music bars move with what you play. Nothing is recorded.If you say no: The music bars gently breathe instead of following the beat. Crowny uses the sound only to move the bars; it records and keeps none of it.
- Focus
- Crowny stays quiet while a Focus is on.If you say no: Crowny cannot tell when Do Not Disturb or another Focus is on, so it will not hush itself for you.
- Accessibility
- Pick from your clipboard and it pastes for you.If you say no: The clipboard picker still copies what you choose; you press ⌘V yourself.
Changed your mind? Each one has a switch in System Settings, Privacy & Security, and Setup shows an Open Settings button next to any that are off. The weather tile may also ask for Location, but only if you choose your own location over a city.
Step 6
Make it yours
The welcome is three quick screens: permissions, your coding agents, your keys. Skip anything; all of it waits in Setup.
Opening Setup again
- Click Crowny’s icon in the menu bar, or right-click the notch, and choose Setup.
- In the open panel, the Setup button in its bar, or the Setup tile, which is always there so you can find your way back.
- Want the welcome again? Replay the welcome is in the same menu, and in Setup, General.
- Open or close the panel from any app with ⌥ Space. Change it in Setup, Shortcuts.
Always on, or Minimal
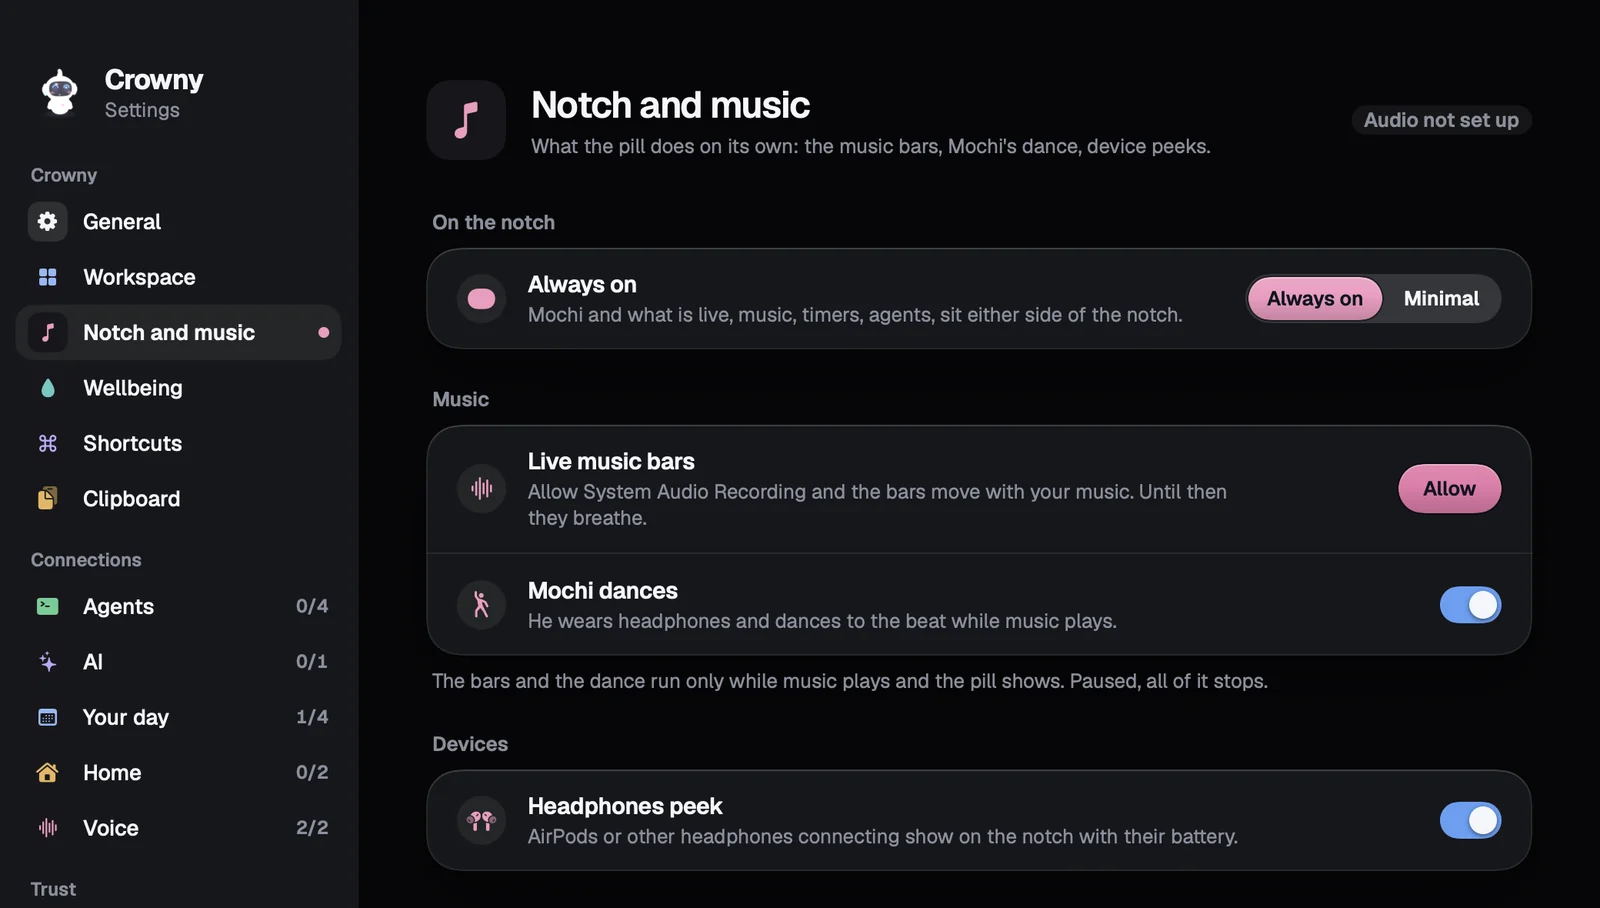
In Setup, Notch and music. Always on keeps Crowny and whatever is live, music, timers, agents, either side of the notch. Minimal leaves nothing but the notch: point at it and it opens, move away and it is gone. Notices still drop down.
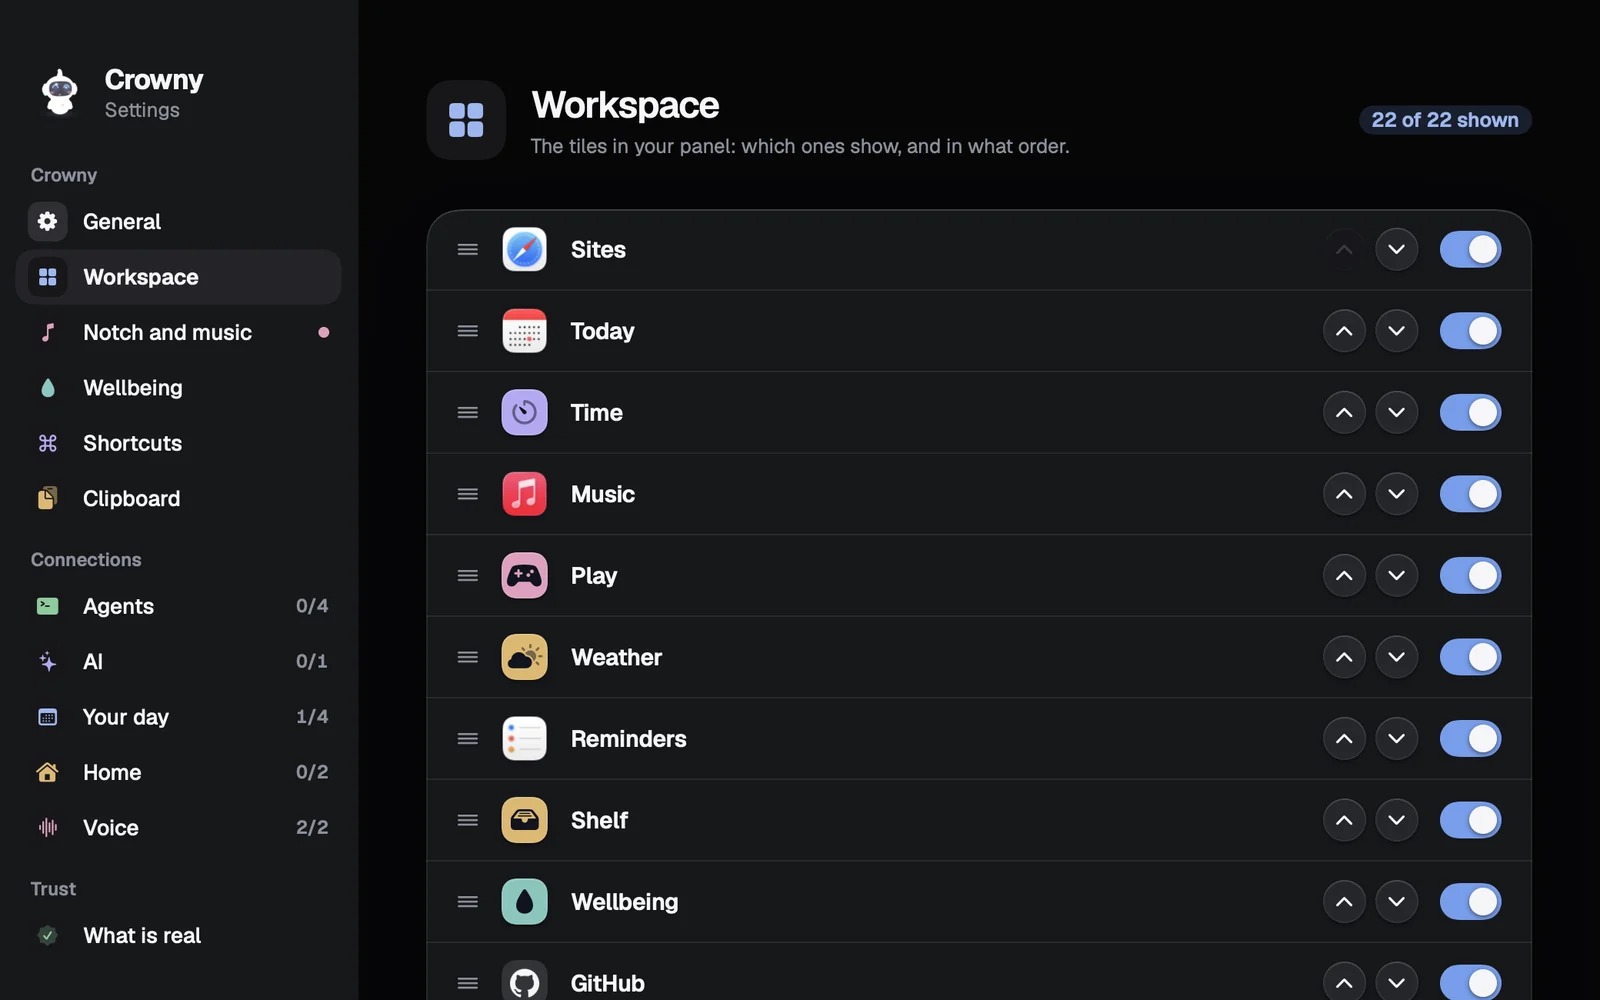
Your tiles, in your order
In Setup, Workspace. Switch off the tiles you do not need, and drag a row, or use its arrows, to move it. Changes land on the open panel at once. Reset to default order puts it back.
Light, dark, or like your Mac
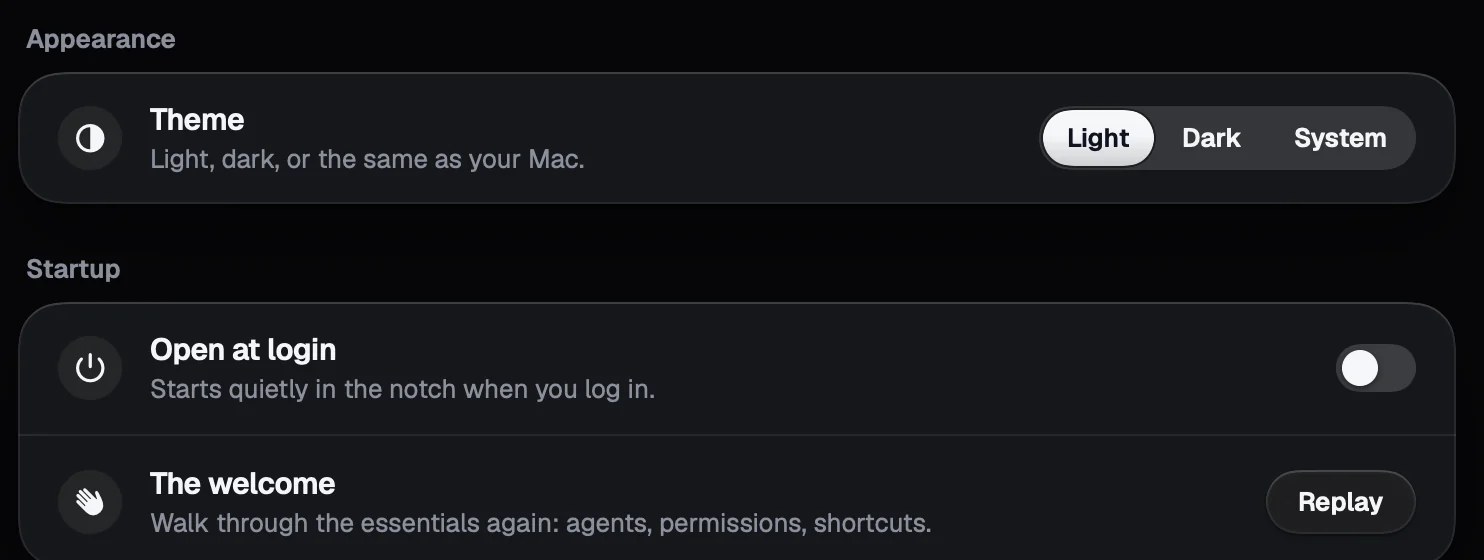
In Setup, General, Theme: Light, Dark or System. The same page turns on Open at login, so Crowny is in your notch every morning.
The rest is yours to explore: Wellbeing for water, standing and eye-break nudges, Clipboard, and under Connections your Agents, AI, Your day, Home and Voice.
Stuck anywhere?
Write to me at amritbx@gmail.com, or just reply to your licence email. It comes to me, and I answer every one.